So I love it when people have a list of currently read music or recently watched movies or books and wanted to add something similar to this site. The only problem is Hugo is, by nature, a static website builder. There are a few options I could have used, from using javascript or embedding an iframe in the page to show that type of dynamic content but you don’t really get the benefit of SEO using those methods plus I was not a fan of how those options looked in the first place. I added all of this to a github repo if you want to skip the long version. You can find that here . Otherwise here is how I created Brentter.com/music :
How do you track what you listen to? What is Scrobbling?
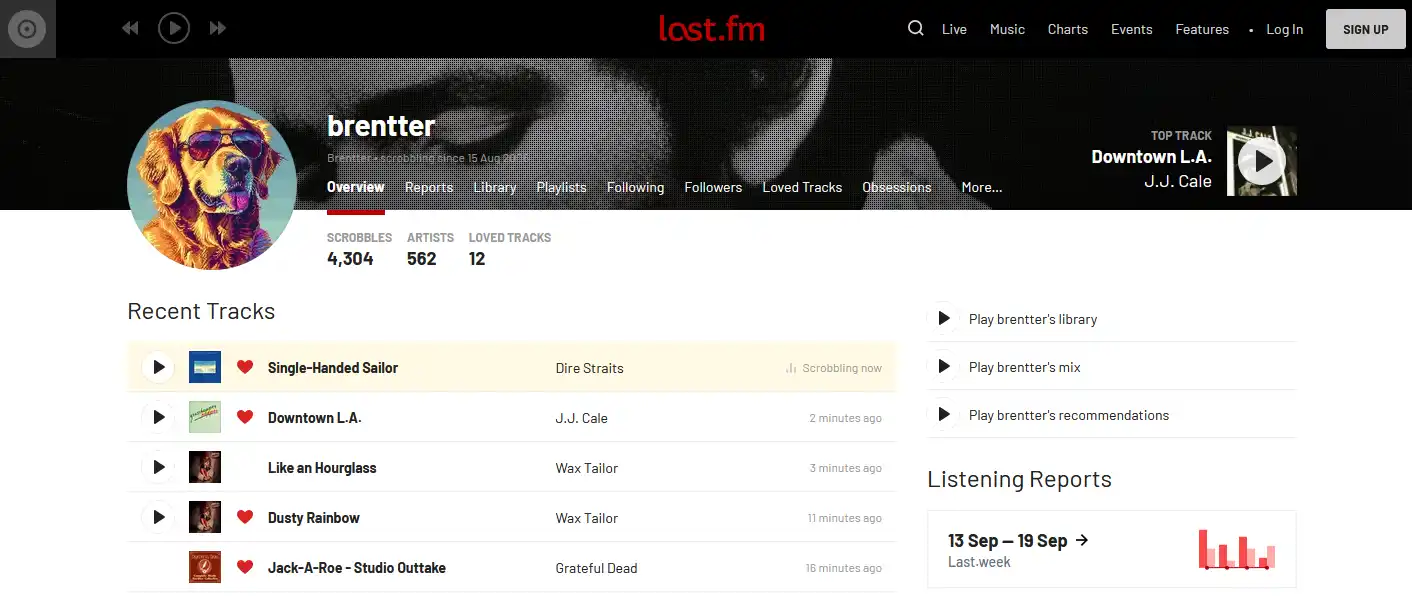
Scrobbling is the term for sharing what content you are watching/listening to across other services. There are a bunch of sites like Last.fm which can directly interact with your media apps like Youtube, Spotify and Itunes to record what you are playing. The purpose is to get a better idea of what type of music you have enjoyed over time as well as help introduce you to new music based on your listening habits. You can enable this feature in the settings or options area of most media apps. While there are a bunch of sites that you can use to keep track of this data, I chose last.fm because of how easy it is to use (and free). So you will need a last.fm account for this as well as an API key.
Create a last.fm account and get an API key
Head on over to Last.fm and create an account. You will then need to head over to here to create the API key. Just put anything in for the application description. You can even use localhost as the callback url. The next screen will show you your application API key. Write this down somewhere safe.
Enable scrobbling in your media apps
This is just going to be for spotify but you can do the same for any other media application that you prefer. Log into your last.fm account, go to Settings then click Applications. Click on the connect to Spotify button and it will have you verify your credentials with spotify and that you are allowing last.fm to connect to your account. Once approved last.fm will keep track of what you listen to!
You Will Now Need To Add A New Shortcode
So in order for the list of recently listened to music to show up properly you’ll need to show a little bit of HTML code on the page. Hugo typically will remove any HTML tags on any pages unless you add a shortcode for displaying raw HTML. To do this create new shortcode template in layouts/shortcode/rawhtml.html
Then place the following inside it:
layouts/shortcode/rawhtml.html
<!-- raw html -->
{{.Inner}}
Now on your markdown page you’ll be able to use it like this;
{{< rawhtml >}} HTML GOES HERE {{< /rawhtml >}}
Here is the python script to update the page
You will need to go into your github repo, click settings then actions and add two new secrets - LASTFM_API_KEY and LASTFM_USERNAME with the appropriate info.
generate_markdown.py
import requests
import xml.etree.ElementTree as ET
from datetime import datetime
import os
import sys

# Fetch XML data from Last.fm API using environment variables for security
api_key = os.getenv('LASTFM_API_KEY')   #put your lastfm api key in your github secrets
user = os.getenv('LASTFM_USERNAME')   #put your lastfm username in your github secrets
limit = 10   #how many tracks should it grab, if left blank the default is 50
url = f'https://ws.audioscrobbler.com/2.0/?method=user.getrecenttracks&user={user}&limit={limit}&api_key={api_key}'

try:
    response = requests.get(url)
    response.raise_for_status()  # Raise an HTTPError for bad responses (4xx and 5xx)
    xml_data = response.content

    # Parse the XML data
    root = ET.fromstring(xml_data)

except requests.exceptions.RequestException as e:
    print(f"Error fetching data from Last.fm API: {e}")
    sys.exit(1)  # Exit the script with a non-zero status to indicate failure

# Extract track information
tracks = []
for track in root.find('recenttracks').findall('track'):
    artist = track.find('artist').text if track.find('artist') is not None else ""
    name = track.find('name').text if track.find('name') is not None else ""
    album = track.find('album').text if track.find('album') is not None else ""
    url = track.find('url').text if track.find('url') is not None else ""
    image_url = track.find("image[@size='large']").text if track.find("image[@size='large']") is not None else ""
    date_listened_full = track.find('date').text if track.find('date') is not None else ""

    # Extract only the date part (first part before comma) and ignore time part
    date_listened_date_only = date_listened_full.split(',')[0] if date_listened_full else ""

    tracks.append({
        'artist': artist,
        'name': name,
        'album': album,
        'url': url,
        'image_url': image_url,
        'date_listened': date_listened_full
    })

# Get current date and time in ISO 8601 format with timezone offset
current_datetime = datetime.now().astimezone().isoformat()

# Generate Markdown content with Hugo front matter and embedded HTML for styling
markdown_content=f'''---
title: "Music"
date: "{current_datetime}"
#YOUR FRONTPLATE INFO GOES HERE
#I included how it changes the date to the current one every time it runs with {current_datetime}
#If you prefer to use the lastupdated option instead go for it
---

## Last Ten Tracks Listened To From Last.fm

{{{{< rawhtml >}}}}

<ul class="track-list">
'''

for t in tracks :
   markdown_content+= f'''
<li class="track-item">
<div class="track-image"><img src="{t['image_url']}" alt="{t['name']}"></div>
<div class="track-details">
<h3><a href="{t['url']}" target="_blank">{t['name']}</a></h3>
<p><strong>Artist:</strong> {t['artist']}<br>
<strong>Album:</strong> {t['album']}<br>
<strong>Date Listened To:</strong> {t['date_listened']}</p>
</div>
</li>'''

markdown_content += '''
</ul >
{{< /rawhtml >}}
'''

# Write to a markdown file- Change to whatever folder or filename you want the results placed in.
with open("content/music.md", "w") as f:
     f.write(markdown_content)
Now what this does is it uses your last.fm api_key and username to grab the last 10 songs you have listened to, create a markdown page with your frontplate info and then rebuild the blog. You can change the # of tracks it pulls by altering the number after “limit=” I have it set to 10 but you can set it all the way up to 50. You will also want to add all your frontplate information were noted as well as change the folder and file name you would like it to save as. Currently it is saving the file in the content folder under the name music.md
Now to the CSS to make it look decent
Depending on what theme you are using you are going to have to find what css file works for the type of page or post you are placing this in. For me that was post-single.css. All you have to do is copy that css file from your theme folder to your own assets/css/common/ folder and at the end add the following:
.css
.track-item {
    border-radius :8px; box-shadow :0 2px 4px rgba(0 ,0 ,0 ,.1); margin-bottom :20px; overflow:hidden; display:flex; align-items:center;
}

.track-image {
width:auto;height:auto;margin-right:.5em;
}

.track-image img{
max-width :100%;height:auto;border-radius:.5em;
}

.track-details{
padding:.5em;width:auto;
}

.track-details h3{
margin-top :0;margin-bottom :.25em;font-size :
1.25em;} p{margin :.25em;font-size :.9em;color:d3d3d3;}
Now to keep this updated!
In order to keep this regularly updated we need to create a github workflow. More information on workflows can be found here. In your base directory create two new folders .github and then inside that create workflows. In the workflows folder we are going to create a file named update_music_page.yml with the following code:
update_music_page.yml
name: Update Last 10 Tracks

on:
  schedule:
    - cron: '0 */4 * * *' # Runs every 4 hours (adjust as needed)
  push:
    branches:
      - main # or your default branch

jobs:
  update-tracks:
    runs-on: ubuntu-latest

    steps:
      - name: Checkout repository
        uses: actions/checkout@v4

      - name: Set up Python
        uses: actions/setup-python@v5
        with:
          python-version: '3.x'

      - name: Install dependencies
        run: |
          python -m pip install --upgrade pip
	  pip install requests

      - name: Run script to generate markdown file
        env:
          LASTFM_API_KEY: ${{ secrets.LASTFM_API_KEY }}
          LASTFM_USERNAME: ${{ secrets.LASTFM_USERNAME }}
        run: |
          python generate_markdown.py

      - name: Commit changes
        run: |
          git config --global user.name "${{ github.actor }}"
          git config --global user.email "${{ github.actor }}@users.noreply.github.com"
          git add content/music.md
          git commit -m "music.md"

      # Ensure changes are pushed back before deployment
      - name : Push changes back to repository
        uses : ad-m/[email protected]
        with :
          github_token : ${{ secrets.GITHUB_TOKEN }}
	  branch : main
This is set to run every 4 hours but you can change that to however frequent you would prefer by changing the line under cron. You should also change the folder and file that it pushes to your git repository unless you want to keep it at contents/music.md.
Git add, commit and push to your repo!
Hopefully there won’t be any errors along the way and it should run the python script, create your new music page and stay dormant until it is ready to update again. What this will not do is auto-push to your hosting service unless it setup like cloudflare where it will automatically update anytime there is a new build. Pushing it to your host though only needs adding another job entry in your yml file though so it should be simple enough. If there are errors you can see them under Actions in your github repo.
Hopefully this helps some of you, please use it and create something much cooler as this is pretty basic but let me know what you have made so I can check it out!
Enjoy!
~Brent